SQL Merge Replication for ACM (SQL Server 2012 +)
Merge Replication
This page will guide configuration of SQL merge replication for newer SQL Server versions using the wizards available within the SQL Server Management Studio. It is imperative to first obtain a domain service account that will be used by the replication agents. It is also possible to configure replication in workgroup servers by using common local accounts. In a domain the process is simplified by making use of a domain service account.
Part 1: Configure Distribution
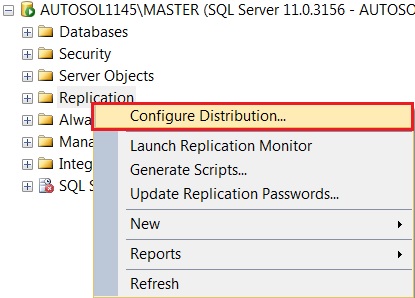
Step 1. If a distributor hasn't been created, invoke the Create Distributor wizard by right-clicking the Replication folder and selecting Configure Distribution...
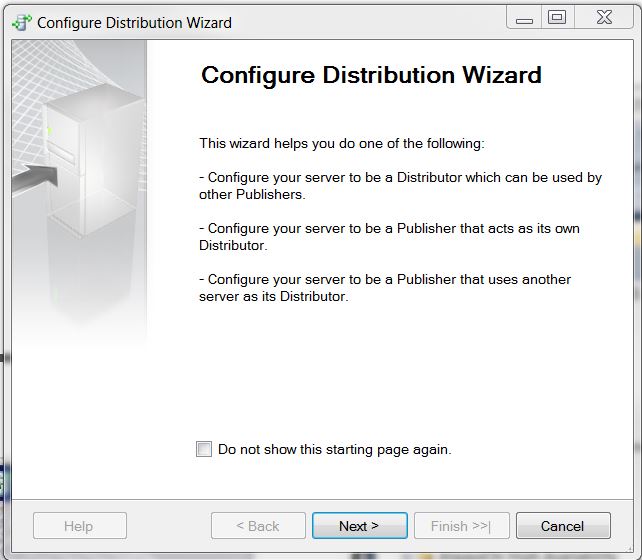
Step 2. Click Next on the first page of the Wizard.
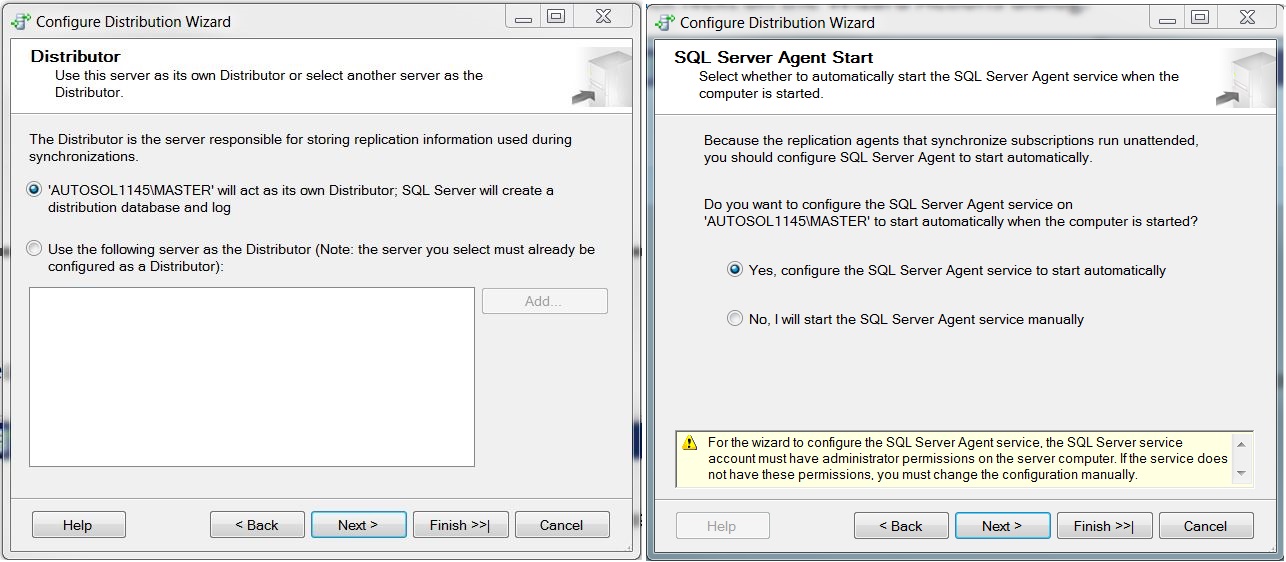
Step 3. Leave the default selection on the next two pages page and click Next.
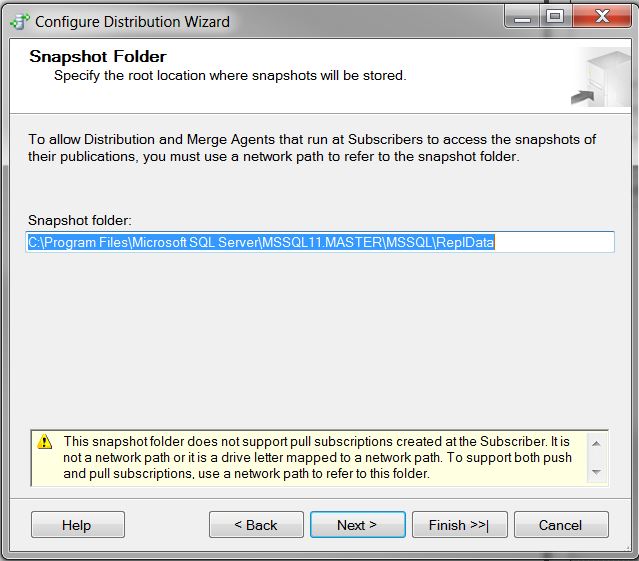
Step 4. The default path for the Snapshot Folder is generally sufficient, or a new one can be chosen if desired. Click Next.
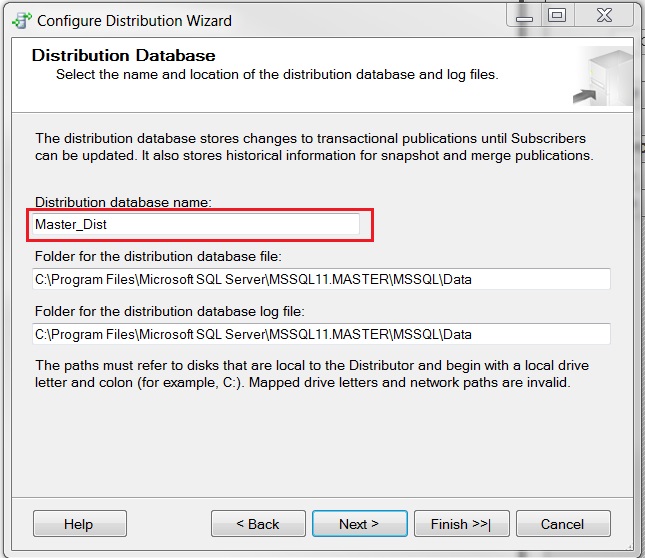
Step 5. Provide a name for the Distributor. The distributor is server wide and not associated with any specific database. Click Next.
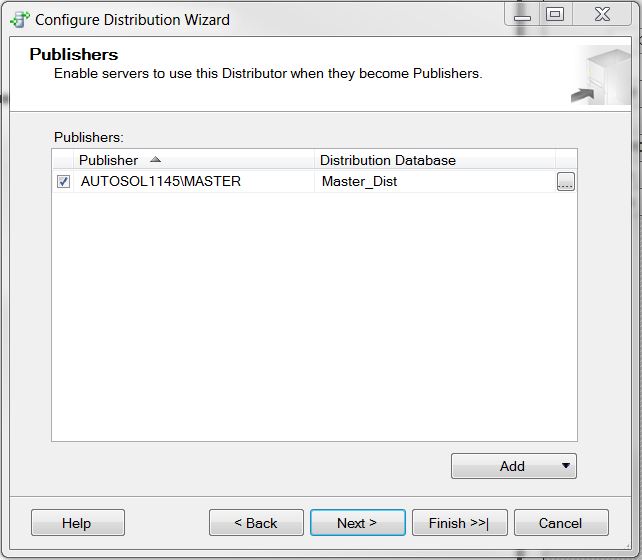
Step 6. Leave the default on the next page and click Next.
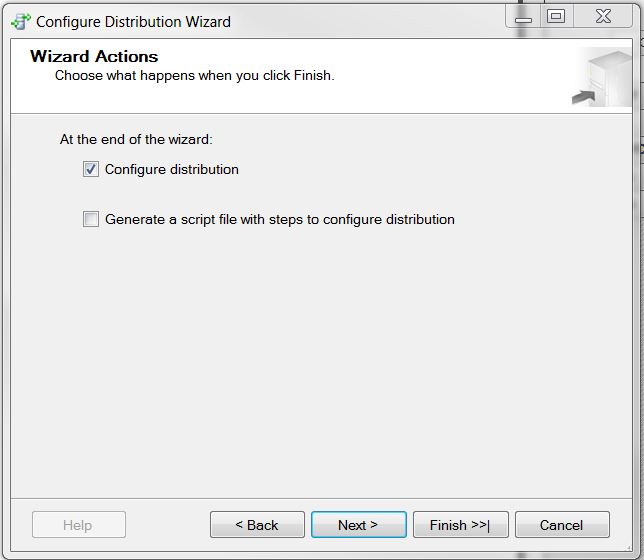
Step 7. On the Wizard Action page click Next.
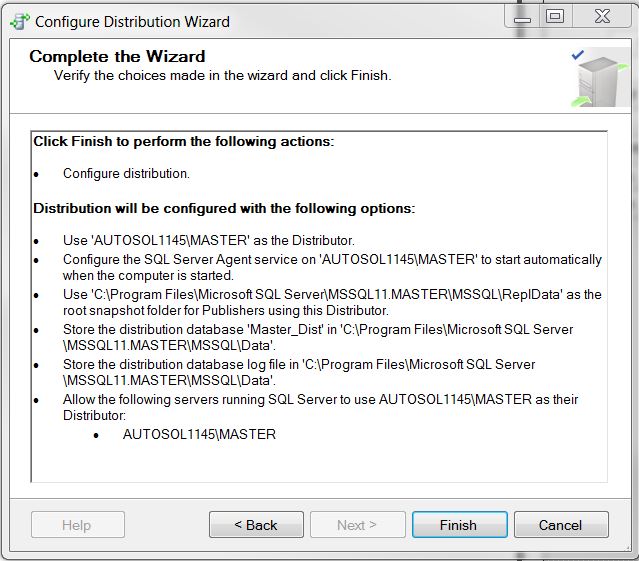
Step 8. To complete the Distribution Wizard, click Finish.
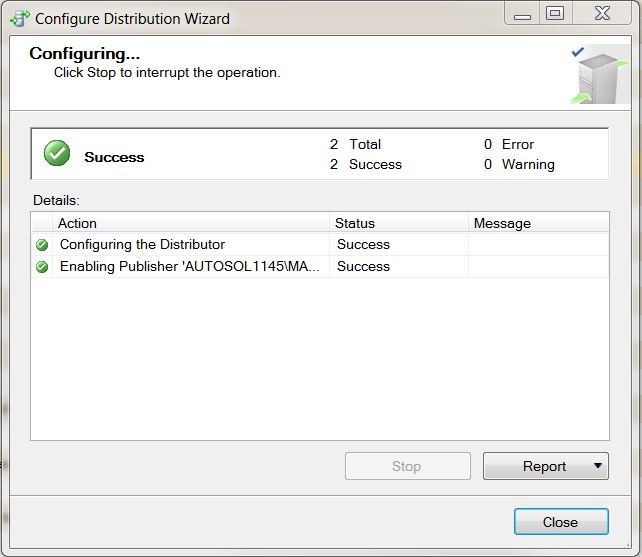
Step 9. The last page should show a status of Success. Click Close to close the dialog out.
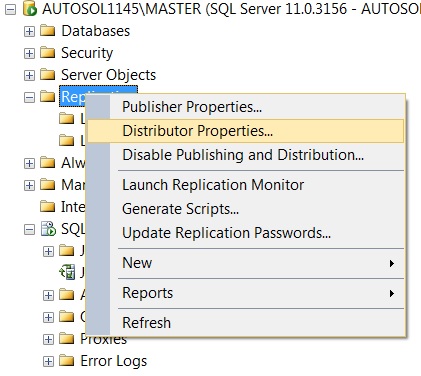
Step 10. There is one more additional setting that needs to be configured for the Distributor. Right-click on Replication and click Distributor Properties.
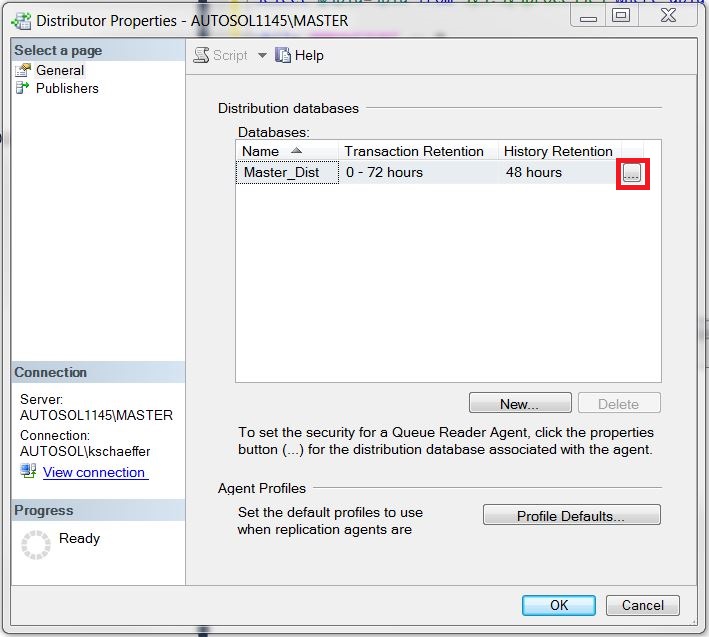
Step 11. In the Distributor Properties for Distributor added above, click the ellipses(...) button to edit its properties.
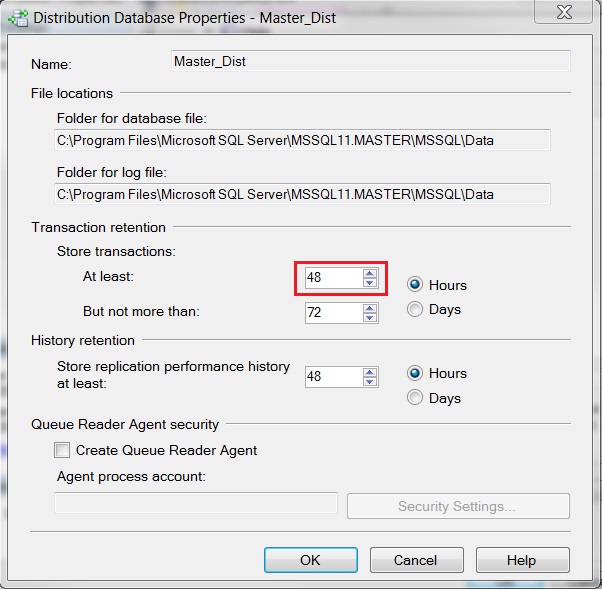
On the Distribution Database Properties page, change the property 'At least' from 0 to 48. Then click OK to Save, and Close to close the dialog.
The Distributor configuration is now complete.
Part 2: Configure Publisher
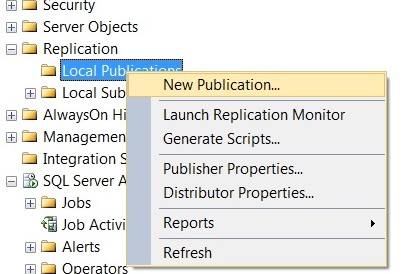
Step 1. Expand the Replication Folder, then right-click on Local Publications and select New Publication...
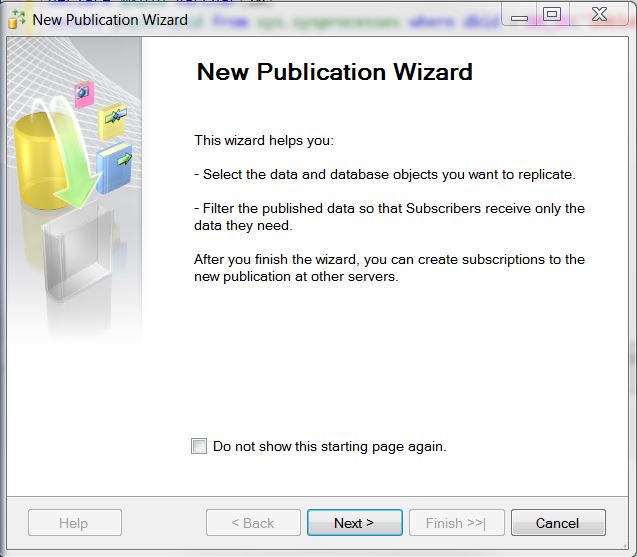
Step 2. On the first page of the Wizard click Next.
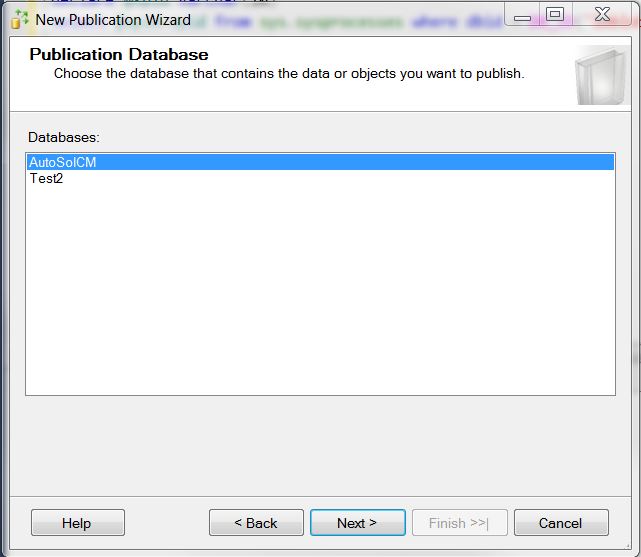
Step 3. On the Publication Database page, select the database you wish to publish and click Next.
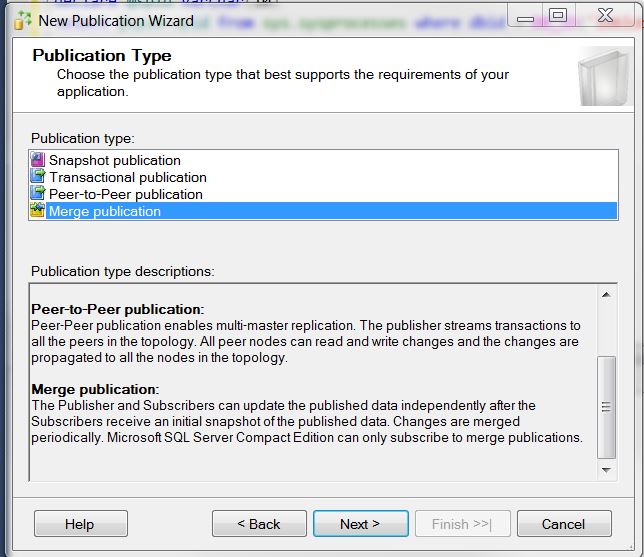
Step 4. On the Publication Type page, Select Merge Replication and click Next.
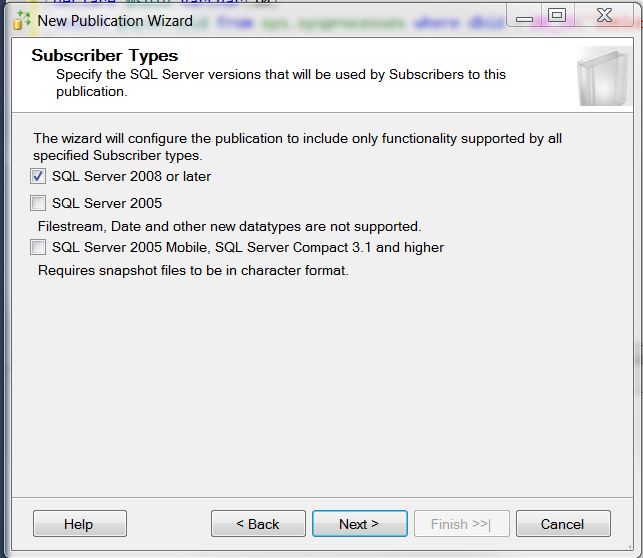
Step 5. Make the appropriate selection on the Subscriber Types page and click Next. This will usually be SQL Server 2008 or later.
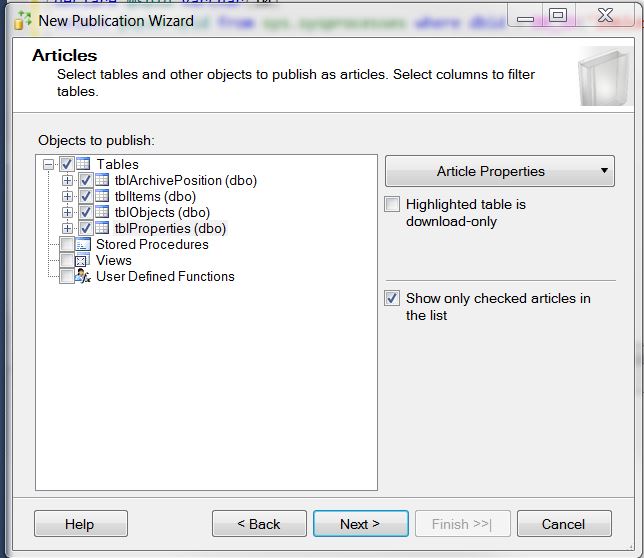
Step 6. On the next page, select the articles to publish. Expand Tables and select the following 4 tables:
- tblArchivePosition
- tblItems
- tblObjects
- tblProperties
The tables listed above are the minimum set to include for ACM configuration data and history collection position information. See Database Replication for a full list of tables and when to include them in a replication scheme.
After selecting the tables, click Next.
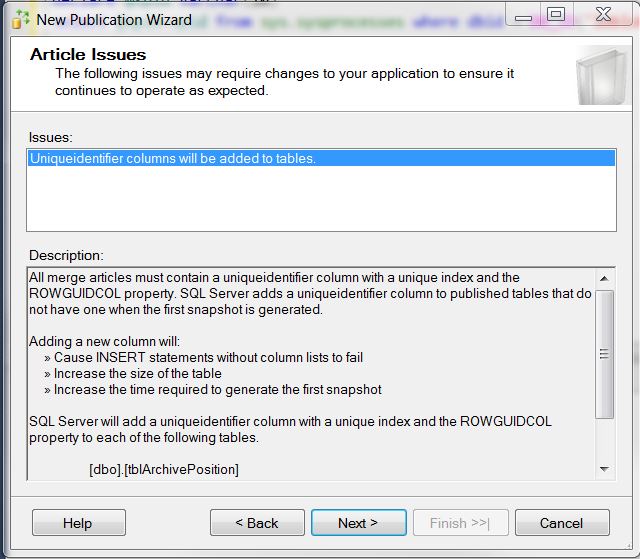
Step 7. The wizard will inform you on the next page that UniqueIdentifiers columns will be added to some tables. Click Next.
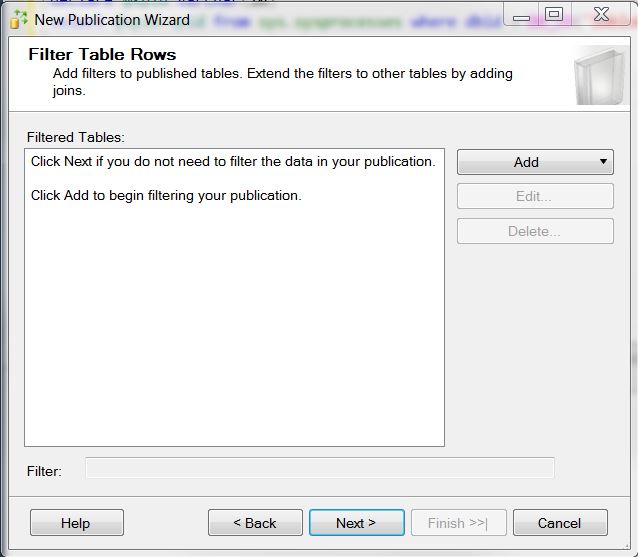
Step 8. On the Filter Table Rows page, click Next. No filters are necessary.
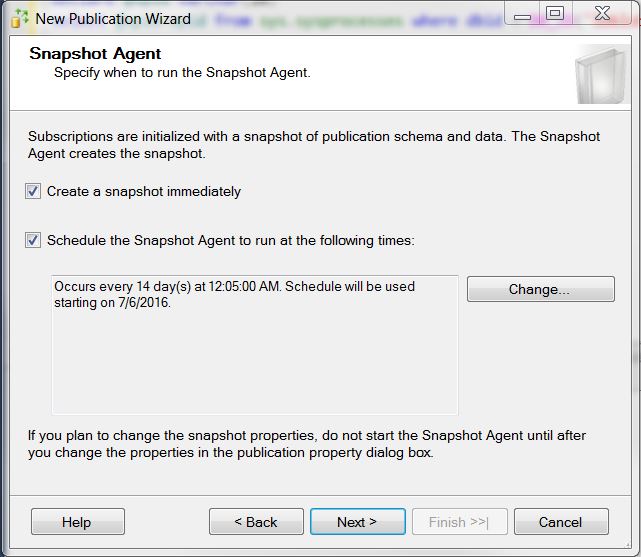
Step 9. On the Snapshot Agent page leave all the default settings and click Next.
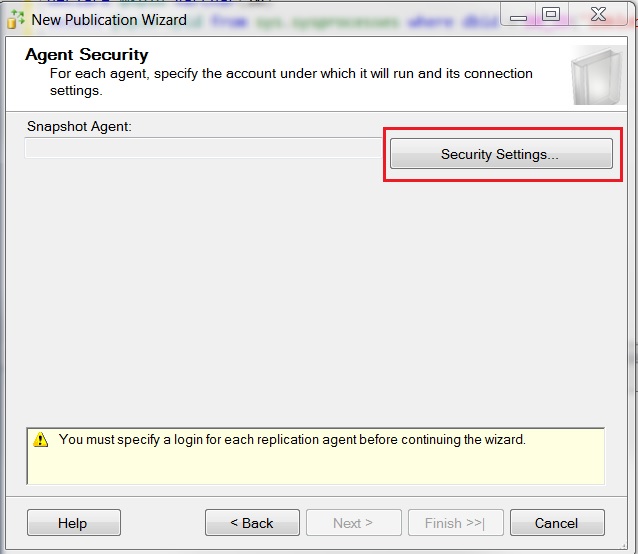
Step 10. On the Agent Security page, security must be configured. Click the Security Settings... button.
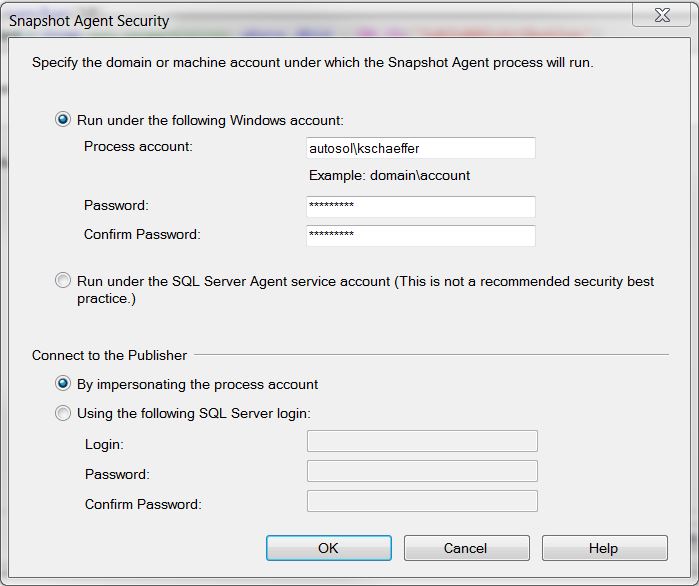
Enter a domain account user/password that the agent will run under. Leave the Connect to Publisher default setting as 'By impersonating the process account'. Click Ok and then click Next on the Agent Security page.
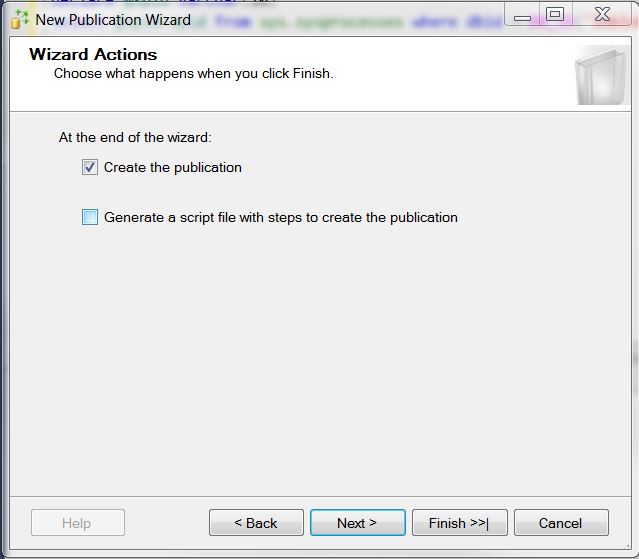
Step 11. On the Wizard Action table, leave the default and click Next.
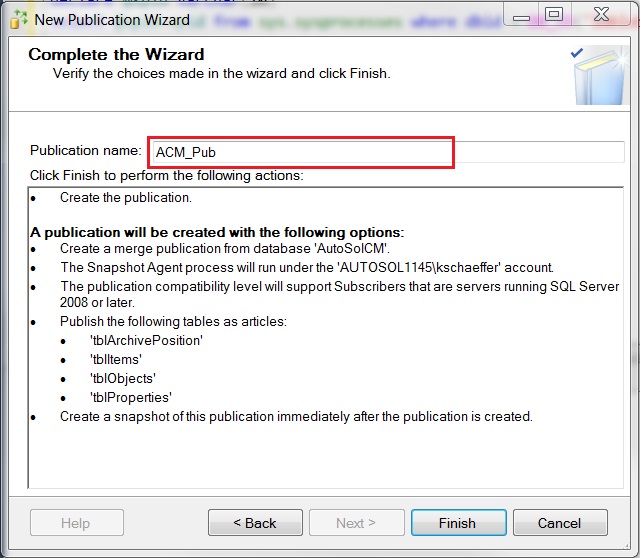
Step 12. Provide a name for the Publisher and click Finish.
Step 13. The Creating Publication dialog should indicate the activity was a Success. Click Close to close the dialog.

Part 3: Configure Subscriptions
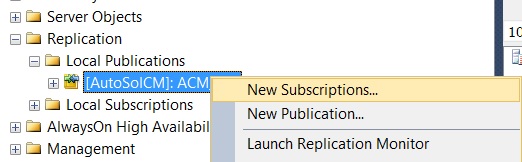
Step 1. Right-click on the new publisher and choose New Subscriptions... This will start the Subscription Wizard dialog.
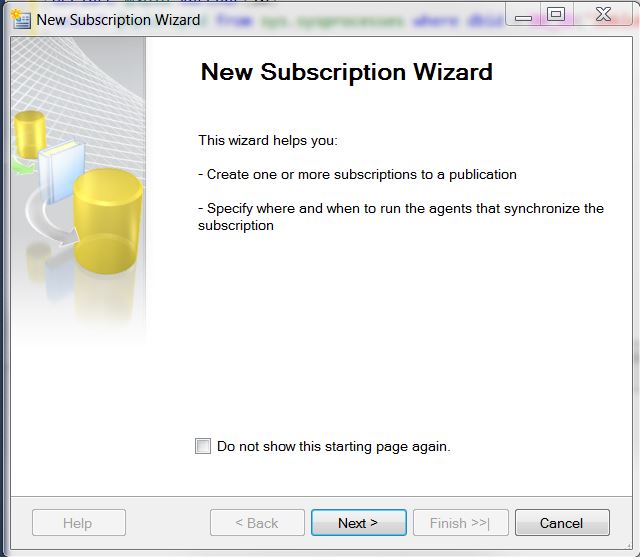
Step 2. Click Next on the first page of the Wizard.
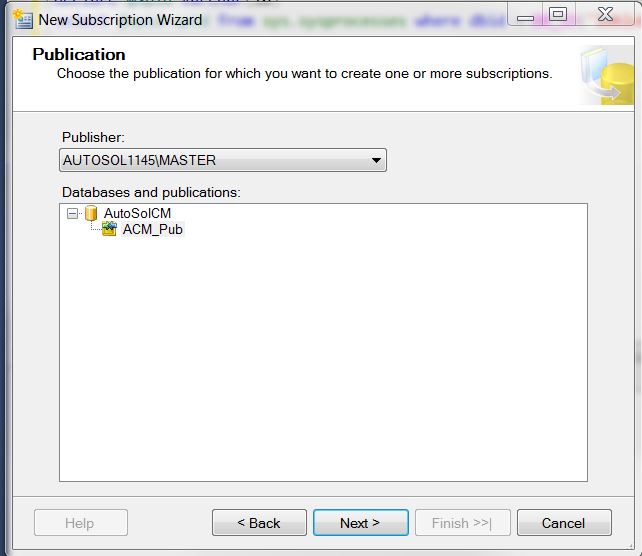
Step 3. On the Publication page, select the Publisher that the Subscriber will use. Click Next.
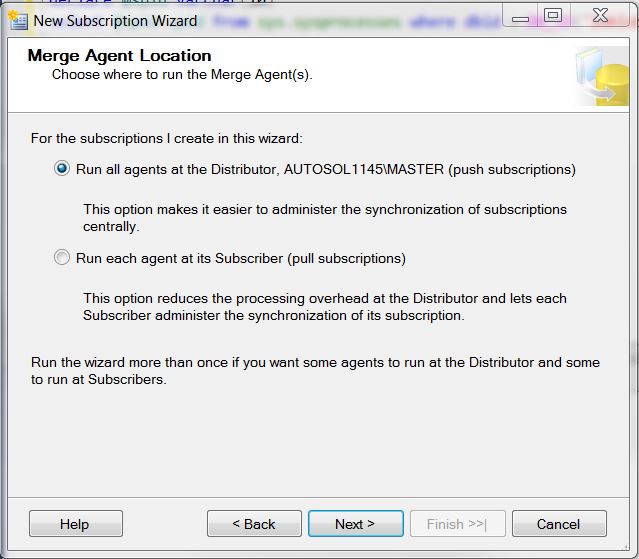
Step 4. Leave the default settings for the Merge Agent Location. Click Next.
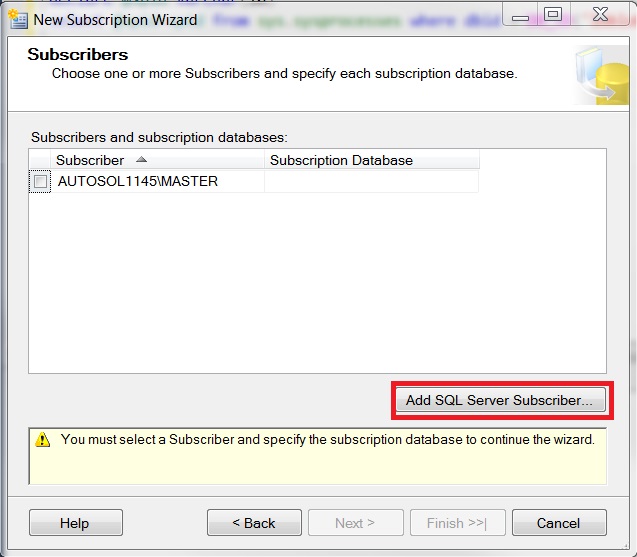
Step 5. On the Subscriber page:
Click the Add SQL Subscriber to invoke the server connection dialog.
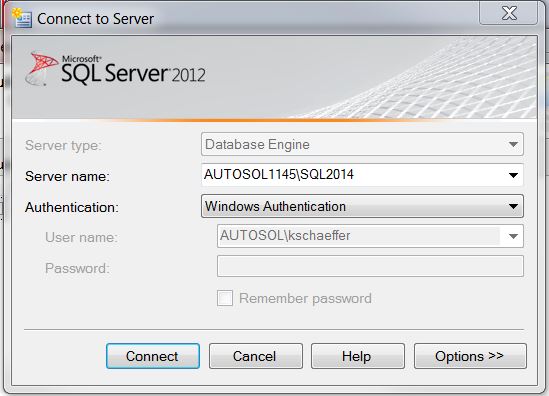
Enter the SQL Server instance name of the other server and the necessary credentials and click Connect.
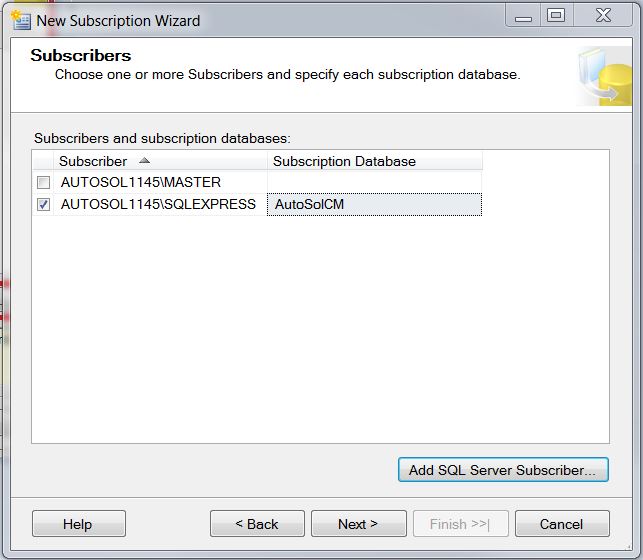
The new Subscriber will then be visible on the Subscribers dialog. At this point, more subscribers can be added if necessary. When done, click Next.
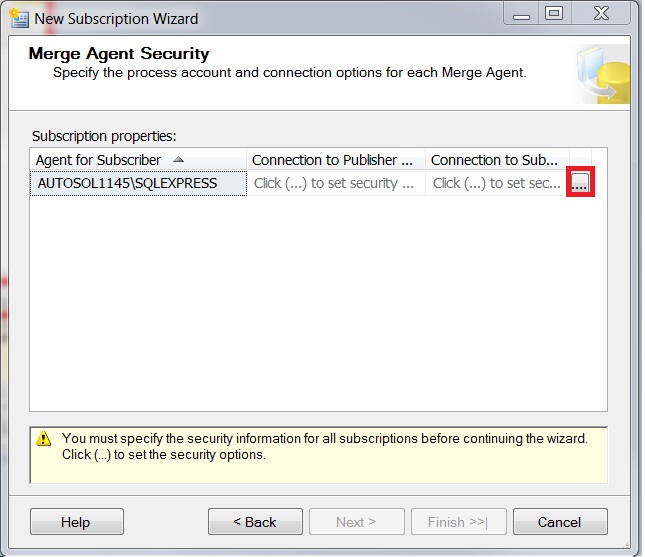
Step 6. On the Merge Agent Security, click the ellipses(...) button next to the subscriber to set its credentials.
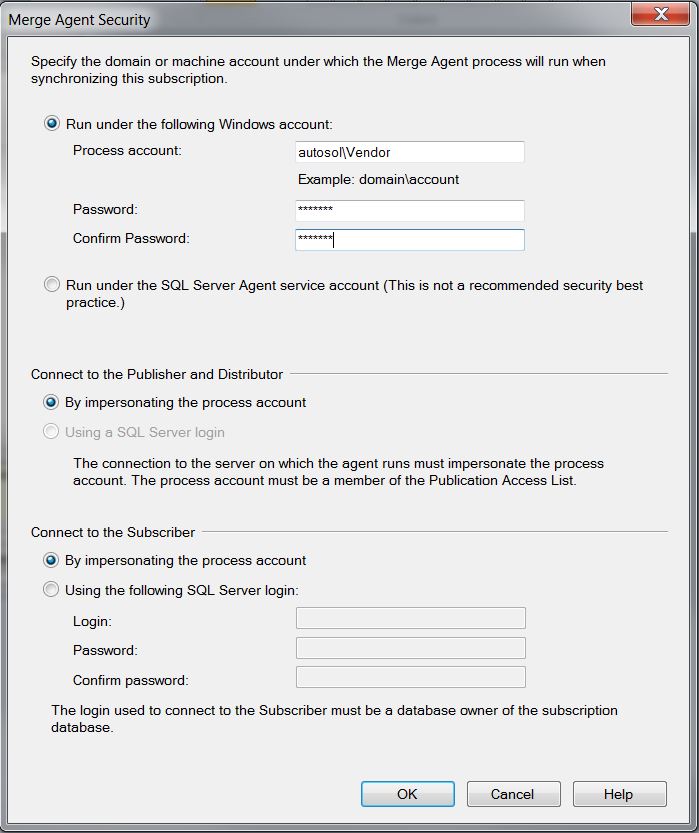
Enter the account information that the agent will run under.
- Leave the default setting for 'Connect to Publisher and Distributor'
- Leave the default setting for 'Connect to Subscriber' unless Workgroup local accounts, in which case it is necessary to enter the SQL account for logging into the Subscriber.
- Click OK and then Next.
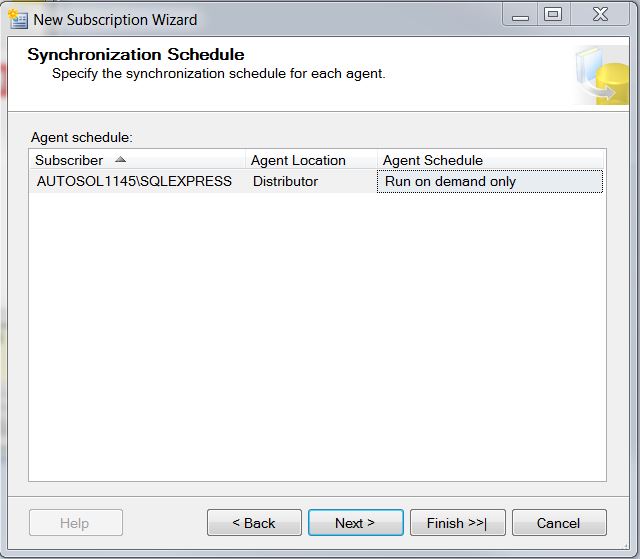
Step 7. Select the best Agent Schedule option per company requirements. This can be left as 'Run on demand only' until the set up process is complete. Click Next.
Step 8. On the Initialize Subscriptions dialog, leave all the defaults. Click Next.
.jpg?version=1&modificationDate=1643406317356&cacheVersion=1&api=v2)
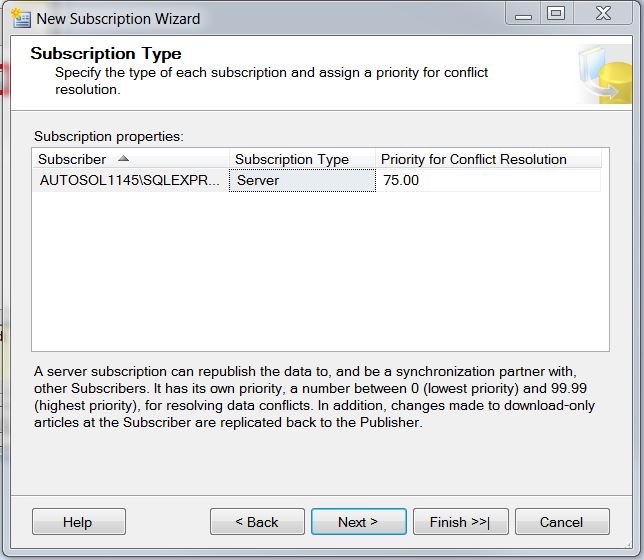
Step 9. Leave the defaults for Subscription Type page. Click Next.
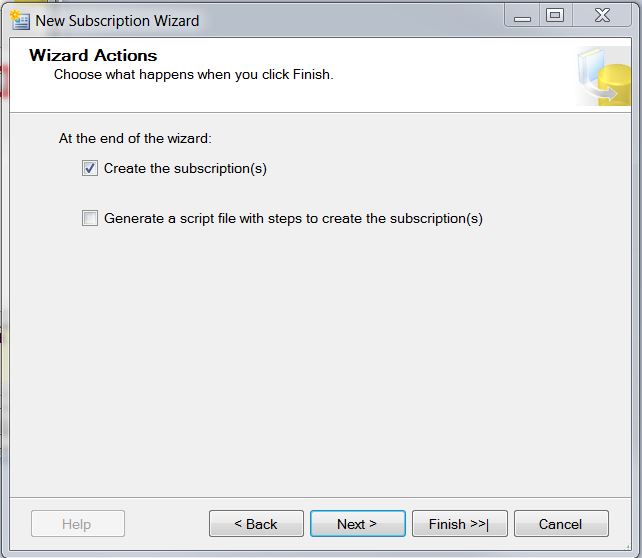
Step 10. Click Next on the Wizard Actions page.
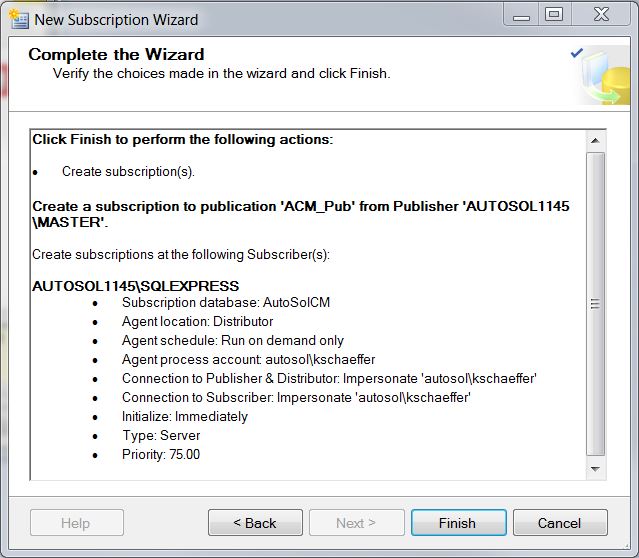
Step 11. Click Finish on the Complete the Wizard page.
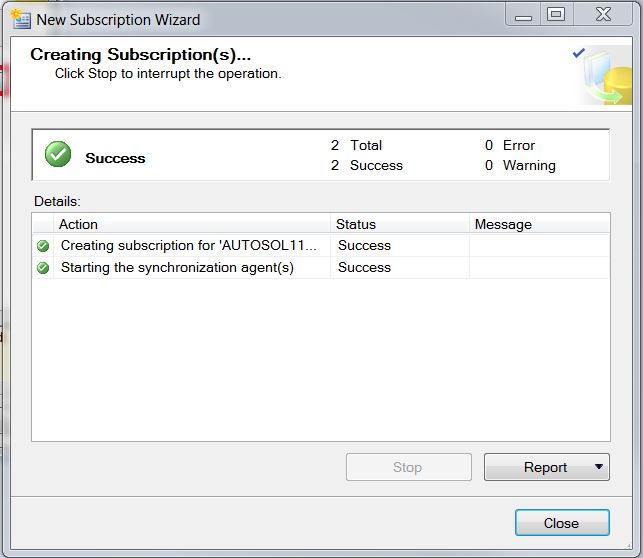
Step 12. The last page of the Wizard should indicate that the new subscription(s) have been created successfully.
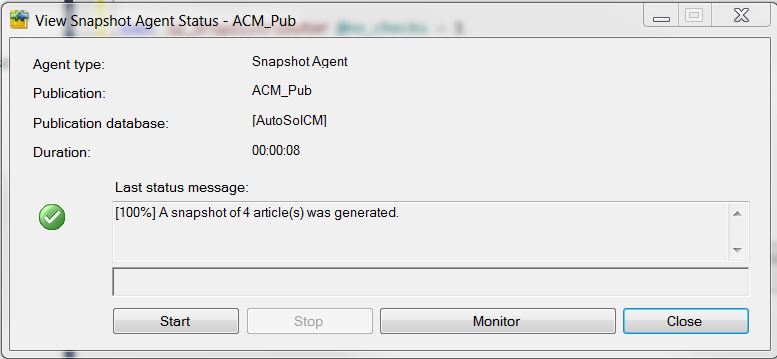
Step 13. To view the status of the Snapshot and verify everything is set up correctly, right-click on the publisher and choose View Snapshot Agent Status.
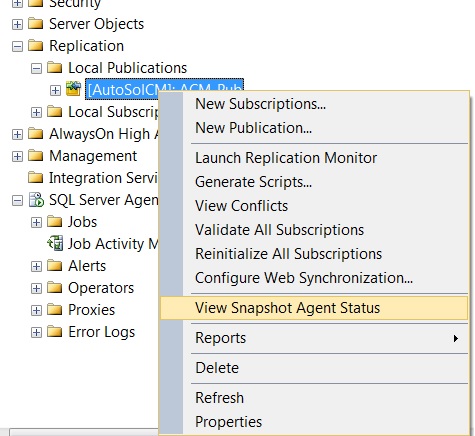
A dialog should appear indicating that the Snapshot was created or that it is in the process of being created. Ensure this step has completed before proceeding to the next step. If any errors arise, they should be investigated at this time.
Monitoring Status
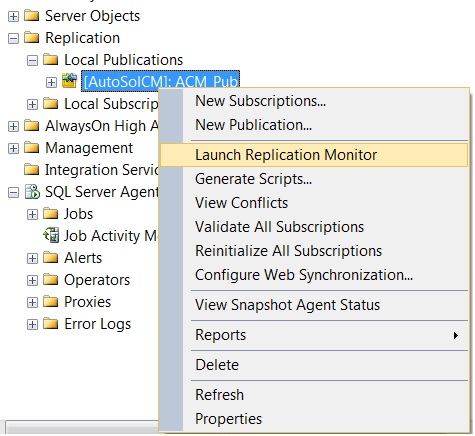
Step 1. After the Snapshot has been created successfully you can check the status of the merge agent. Right-click on the Replication and choose Launch Replication Monitor
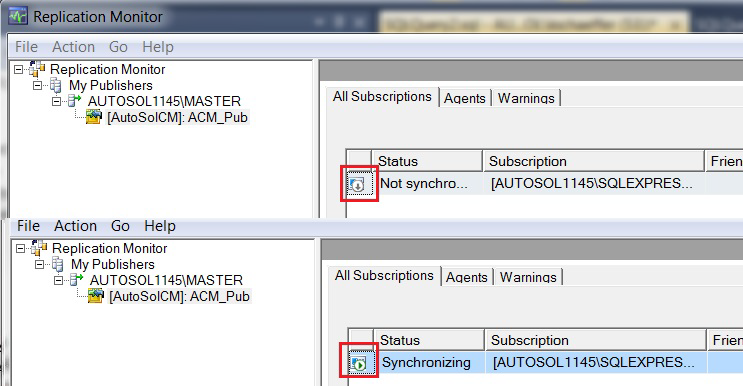
Step 2. The Replication Monitor will show the status of the merge agent. The icons are important here.
- An icon with a down arrow indicates that synchronization is not currently in progress and everything is normal.
- An icon with a green right arrow, is also good, as it indicates synchronization is in progress.
- An icon with red X or yellow ! mark indicates issues.
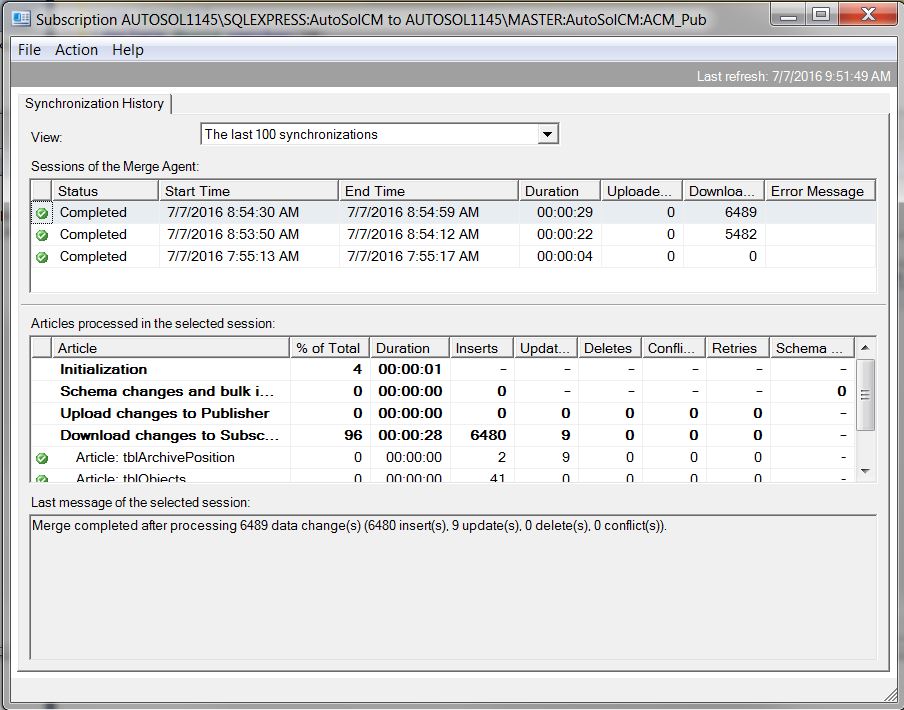
Step 3. To view details about the status, right-click on the icon and select Details. Useful information can be obtained here to help with troubleshooting issues, as well as health status. The detailed information contains what type of synchronization has occurred, which tables have updated, deleted, and/or inserted and displays any conflicts.
For assistance, please submit a ticket via our Support Portal, email autosol.support@autosoln.com or call 281.286.6017 to speak to a support team member.